Why a Squat Rack Could Be the Best Addition to Your Home Gym
Creating an effective and versatile home gym setup doesn’t have to be complicated or require a room full of expensive equipment. One piece of equipment that can dramatically elevate your strength training and fitness routine is a squat rack. Whether you’re new to lifting or a seasoned weightlifter, adding a squat rack to your home gym brings multiple benefits, making it one of the smartest investments for anyone serious about strength training. In this article, we’ll explore why a squat rack is a game-changer, what to consider when choosing the best squat rack for home gym setups, the key squat rack benefits, and how to build an effective squat rack workout routine at home.
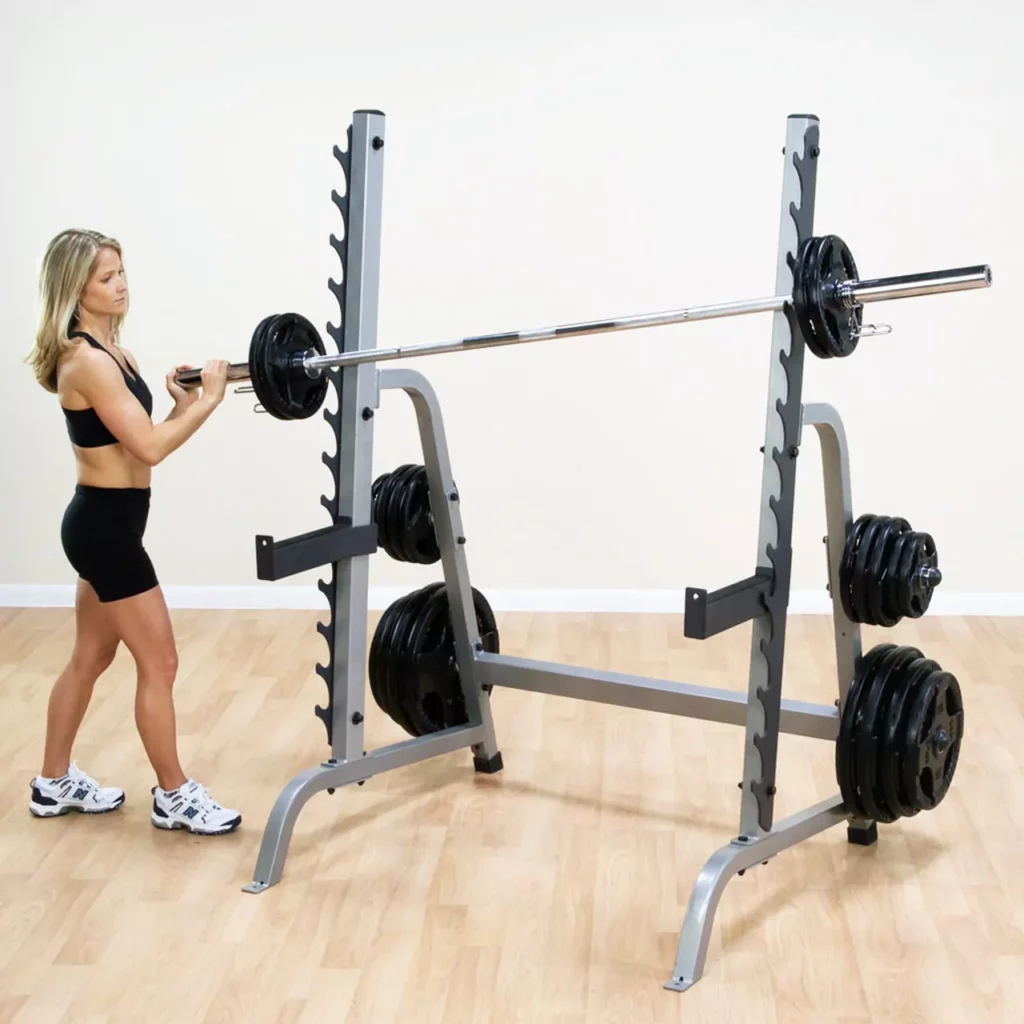
1. What is a Squat Rack and Why Do You Need One?
A squat rack is a sturdy piece of strength training equipment designed primarily for squats, but it can support a wide range of exercises. Essentially, it’s a rack with adjustable barbell hooks and safety bars, allowing you to lift heavy weights safely on your own.
When you work out at home, safety should be a priority. A squat rack provides the stability and support needed for heavy lifts, helping prevent injuries and giving you the confidence to push your limits without a spotter.
2. Squat Rack Benefits That Make It Worth the Investment
a) Versatility
One of the top squat rack benefits is versatility. While its primary purpose is for squats, you can use it for bench presses (with an adjustable bench), shoulder presses, deadlifts, rack pulls, and pull-ups (if your rack has a pull-up bar attachment). This multi-functionality saves space and money, eliminating the need for several single-purpose machines.
b) Progressive Overload
Strength gains come from progressive overload — gradually increasing the weight you lift. A squat rack allows you to lift heavier safely by adjusting the safety bars to catch the weight if you fail a rep, so you can challenge yourself without fear.
c) Improved Strength and Muscle Mass
Adding compound lifts like squats and bench presses to your routine boosts total body strength and builds muscle mass more effectively than isolation exercises alone. With a squat rack, these lifts become accessible and safe at home.
d) Safety at Home
Without a squat rack, lifting heavy at home can be risky, especially if you’re alone. The adjustable safety bars act as your spotter, ensuring you don’t get trapped under a failed lift. This peace of mind allows you to focus fully on your form and performance.
3. How to Choose the Best Squat Rack for Home Gym Use
When looking for the best squat rack for home gym, consider these factors:
a) Space Available
Measure your workout area. Power racks (full cages) offer maximum stability and versatility but require more space. Half racks and squat stands are more compact and ideal for smaller rooms or garages.
b) Weight Capacity
Choose a rack that can handle more weight than you currently lift to accommodate future strength gains. Look for a heavy-duty steel frame with a high weight capacity.
c) Attachments and Expandability
Many squat racks come with optional attachments like pull-up bars, dip stations, landmine attachments, or cable pulley systems. These extras can turn your rack into a complete home gym.
d) Stability and Safety
Check for solid construction, a wide base for stability, and high-quality safety pins or bars. Bolting your rack to the floor may be recommended for heavy lifting.
e) Budget
While you shouldn’t compromise safety for cost, there are excellent squat racks for various budgets. Investing in quality now can save you money in the long run and ensure your workouts remain safe and effective.
4. Squat Rack Workout Routine at Home: Get Started Today
One of the biggest advantages of having a squat rack is that you can perform an entire strength training routine without needing to leave your home. Here’s an example of a squat rack workout routine at home for full-body strength:
Day 1: Lower Body Focus
- Squats: 4 sets of 5–8 reps
- Romanian Deadlifts: 3 sets of 8–10 reps
- Calf Raises (use rack for balance): 3 sets of 12–15 reps
Day 2: Upper Body Push
- Bench Press (with bench): 4 sets of 5–8 reps
- Overhead Press: 3 sets of 6–8 reps
- Dips (if rack has dip bars): 3 sets of 8–12 reps
Day 3: Upper Body Pull and Accessories
- Pull-Ups (if your rack has a bar): 4 sets to failure
- Barbell Rows: 3 sets of 8–10 reps
- Bicep Curls (optional): 3 sets of 10–12 reps
Tips for success:
- Warm up properly before lifting.
- Focus on proper form, not just lifting heavier weights.
- Rest 1–2 minutes between sets.
- Track your progress and aim to increase weights gradually.
5. Final Thoughts: Is a Squat Rack Right for You?
If you’re serious about building strength and muscle at home, a squat rack is a must-have piece of equipment. It brings safety, versatility, and the freedom to train on your schedule. With the right squat rack, you can replicate almost any gym workout, eliminate commute times, and have the flexibility to train whenever you want.
When shopping for the best squat rack for home gym, take your time to compare options, read reviews, and choose a model that suits your space, goals, and budget.
6. Ready to Take Your Home Workouts to the Next Level?
Don’t let limited space or lack of equipment hold back your fitness goals. Investing in a squat rack is an investment in your strength, safety, and consistency. Combine it with a barbell, weight plates, and a bench, and you’ll have everything you need for a complete, powerful squat rack workout routine at home.
Whether you want to squat heavier, bench safely, or add variety with pull-ups and presses, a squat rack can do it all — and more. Elevate your home gym and experience the transformative squat rack benefits today!